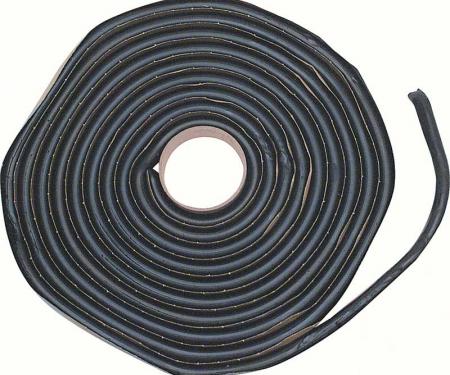
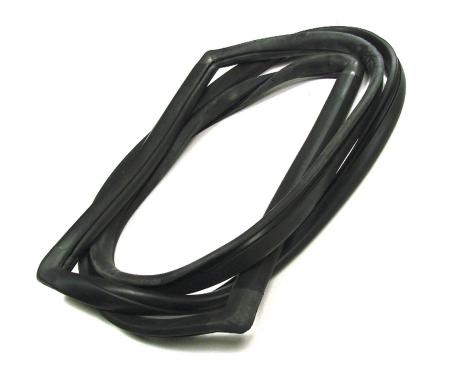
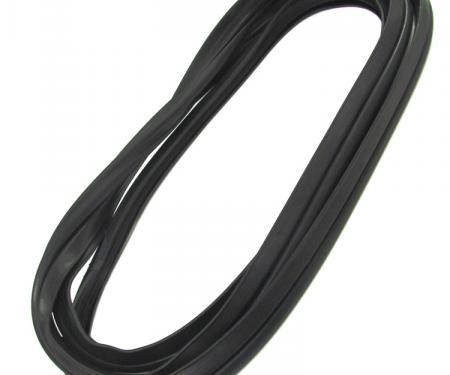
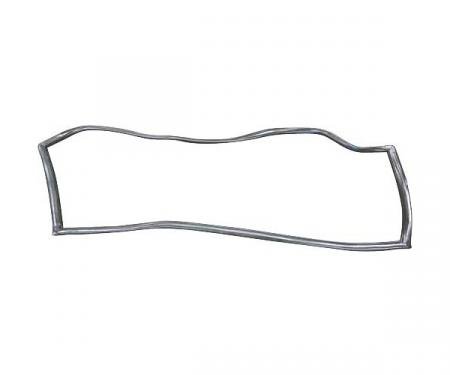
The Precision Windshield Weatherstrip Seal Without Trim Groove WBL 436 is a direct replacement windshield gasket designed to provide a reliable watertight and airtight seal where a trim groove is not used. Made from weather-resistant elastomer, it prevents water intrusion, reduces wind noise and vibration, and restores proper glass alignment and fit. This seal is suitable for vehicles that use a push-in or drop-in style windshield weatherstrip without a metal trim channel and is ideal for restoration projects or routine replacement to maintain cabin comfort and protect interior components.
Features:
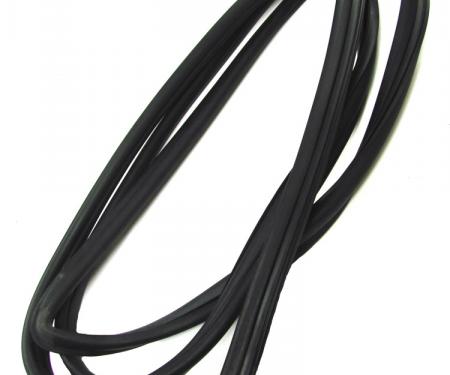
- Designed for windshields that require a rubber weatherstrip without a trim groove (check vehicle application before ordering).
- Durable, weather-resistant elastomer construction resists UV, ozone, and temperature extremes.
- Creates a secure seal to prevent water leaks, reduce wind noise, and minimize vibration.
- Restoration-grade replacement that restores factory fit and helps preserve interior trim and dash components.
- Simple push-in installation — flexible material conforms to channel for reliable long-term performance.
Installation / Application:
- Difficulty: 2/5
- Estimated time: 30–90 minutes (longer if windshield removal/replacement is required)
Instructions:
- Park vehicle on level ground and protect painted surfaces and interior with drop cloths.
- If replacing the old seal only, carefully pry out and remove the existing weatherstrip using a plastic trim tool to avoid damaging the pinch weld or glass.
- If windshield removal is necessary, follow vehicle-specific procedures or have a trained technician perform the glass removal and installation; windshield removal often requires urethane removal and re-application.
- Clean the channel and surrounding metal with isopropyl alcohol and a clean rag; remove all old adhesive, dirt, and corrosion to ensure a good seal.
- Inspect the new weatherstrip for any defects and pre-fit it along the windshield channel to verify correct length and orientation.
- Lightly lubricate the seal lip with soapy water or a rubber lubricant to ease installation and prevent tearing.
- Starting at the top center, press the weatherstrip into the channel and work outward toward each corner, ensuring the seal seats fully and uniformly. Use a plastic tool to gently push the seal into tight spots; avoid sharp metal tools that can damage the rubber.
- If reinstalling or replacing the windshield, apply the appropriate glass primer and urethane adhesive per the adhesive manufacturer’s instructions, then set the glass and allow adhesive cure time as specified.
- Trim any excess material with a utility knife if necessary and re-check that the seal is properly seated all the way around.
- Allow any adhesives or lubricants to dry or cure completely before driving. Test for leaks with a garden hose and inspect for proper fit and wind noise.
- Note: For full windshield removal/replacement, professional installation is recommended to ensure structural integrity and proper adhesion.
About Precision Replacement Parts
Since 1986 Precision Replacement Parts has been a trusted name in the Automotive Glass Industry.
Our knowledge and experience in manufacturing millions of extruded and molded EPDM Rubber, PVC and HDPE based plastics, and various stamped and extruded metal products for the classic and late model industries has allowed Precision to expand our services into multiple product markets.
Along with our own USA based production facility, Precision also partners with 25 different manufactures worldwide with a reputation as a global leader supplying OEM and replacement products to a number of different industries. Our partnerships along with our own in-house manufacturing and fabrication capability gives Precision a unique position in helping to meet the expanding needs of customers everywhere, providing them with a sustained competitive advantage.

Vehicle Fitment:
The Vehicle Fitment Guide is to be used as a general reference. The data has been provided by our suppliers and manufacturers and may contain errors or incorrect data. Always refer to a professional to verify correct fitment for your vehicle.
| Make |
Model |
Years |
| Ford |
F-100 |
1956 |
| Ford |
F-250 |
1956 |
| Ford |
F-350 |
1956 |