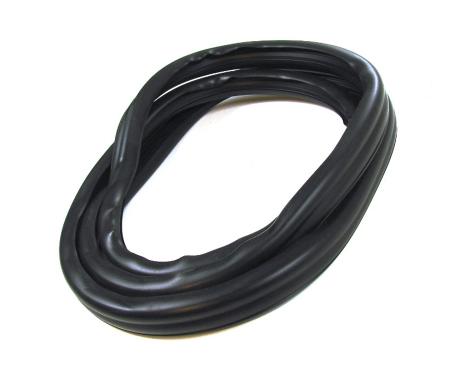
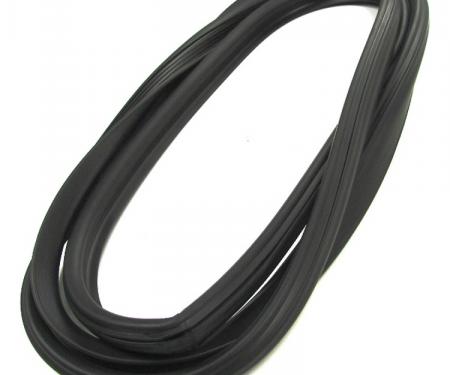
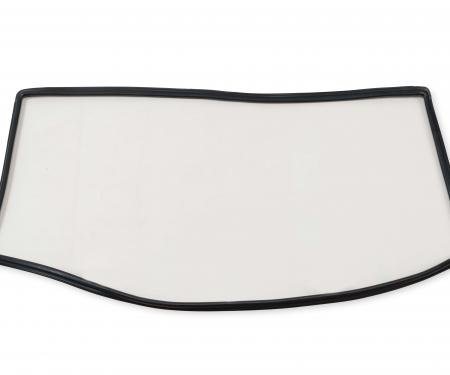
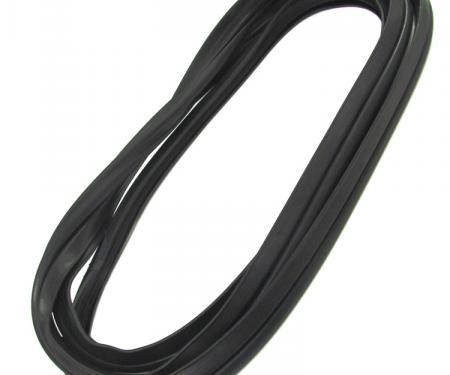
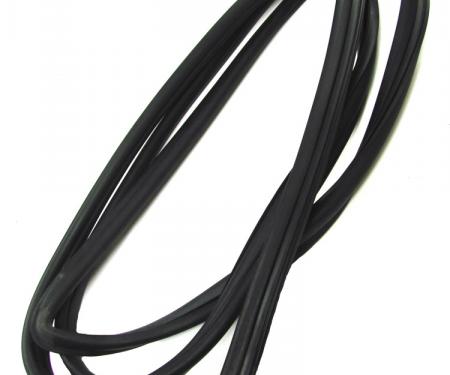
A direct-fit windshield weatherstrip designed for precision sedan models that use steel windshield trim and the WCR D618 profile. This seal features an integrated trim groove to accept steel molding, providing a secure seat that prevents water intrusion, wind noise, and dust while restoring an OEM appearance. Made from resilient, weather-resistant rubber compound, it offers long-term durability, flexibility in cold conditions, and easy installation to simplify restoration and maintenance projects.
Features:
- Fits select sedan models that use steel windshield trim with WCR D618 profile; verify exact year/make/model fitment before ordering.
- Integrated trim groove accepts steel molding for a factory-correct appearance and secure attachment.
- Durable, weather-resistant rubber compound resists cracking, UV, and temperature-related shrinkage.
- Seals windshield to prevent leaks, reduce wind noise, and keep out dust and road contaminants.
- Designed for restoration and replacement applications to restore original fit and finish.
- Straightforward installation with common hand tools and no special adhesives required in most applications.
Installation / Application:
- Difficulty: 2/5
- Estimated time: 30-60 minutes
Instructions:
- Park vehicle on a level surface and protect painted surfaces with masking tape or drop cloths.
- Carefully remove the old windshield weatherstrip and any attached steel trim. Use plastic trim tools and a taped screwdriver to avoid scratching the glass or paint.
- Inspect and clean the windshield flange/channel and trim mounting areas. Remove old adhesive, dirt, and corrosion. Dry the area thoroughly.
- Test-fit the new weatherstrip in place without lubricant to confirm orientation and fit. Identify the top, bottom, and trim groove alignment.
- Apply a light mist of soapy water or a recommended rubber lubricant to the channel and the inside of the seal to ease installation.
- Start at the top center of the windshield and press the seal lip into the channel, working outward toward each corner. Use a rubber mallet or gloved hand to seat the seal fully.
- If applicable, insert the steel molding into the trim groove and secure it along the perimeter. Ensure clips or fasteners engage correctly.
- Trim any excess material with a utility knife and smooth edges as needed. Re-check that the seal is uniformly seated with no pinched or twisted sections.
- Allow the lubricant to dissipate and inspect the seal. Test for leaks by gently spraying water around the windshield and checking for infiltration.
- Reinstall any removed trim or components and perform a final visual and leak inspection.
About Precision Replacement Parts
Since 1986 Precision Replacement Parts has been a trusted name in the Automotive Glass Industry.
Our knowledge and experience in manufacturing millions of extruded and molded EPDM Rubber, PVC and HDPE based plastics, and various stamped and extruded metal products for the classic and late model industries has allowed Precision to expand our services into multiple product markets.
Along with our own USA based production facility, Precision also partners with 25 different manufactures worldwide with a reputation as a global leader supplying OEM and replacement products to a number of different industries. Our partnerships along with our own in-house manufacturing and fabrication capability gives Precision a unique position in helping to meet the expanding needs of customers everywhere, providing them with a sustained competitive advantage.

Vehicle Fitment:
The Vehicle Fitment Guide is to be used as a general reference. The data has been provided by our suppliers and manufacturers and may contain errors or incorrect data. Always refer to a professional to verify correct fitment for your vehicle.
| Make |
Model |
Years |
Fitment Notes |
| Ford |
Galaxie 500 |
1963 - 1964 |
Wagon
Sedan
Coupe
2 door |
| Mercury |
Montclair |
1964 |
Sedan
4 door
2 door |
| Mercury |
Monterey |
1962 - 1964 |
|