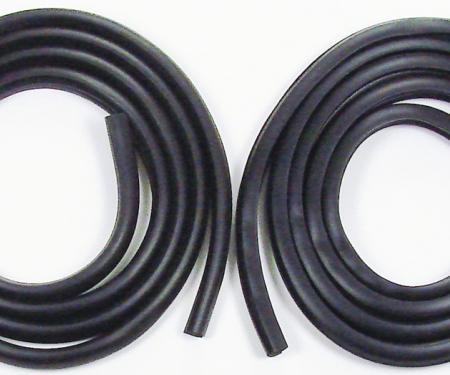
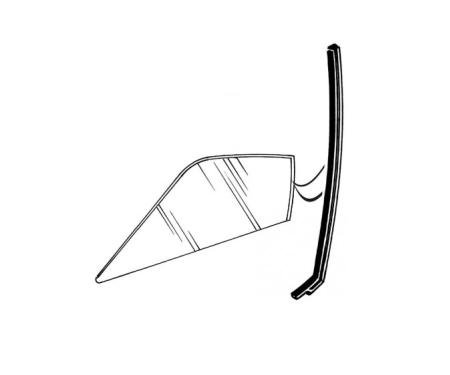
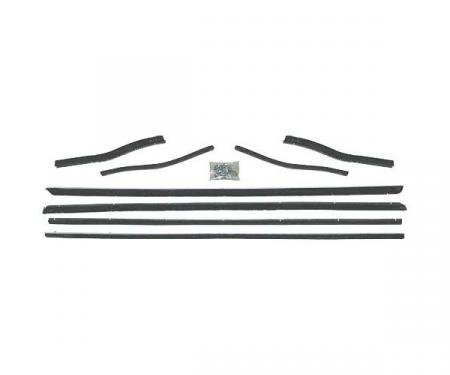
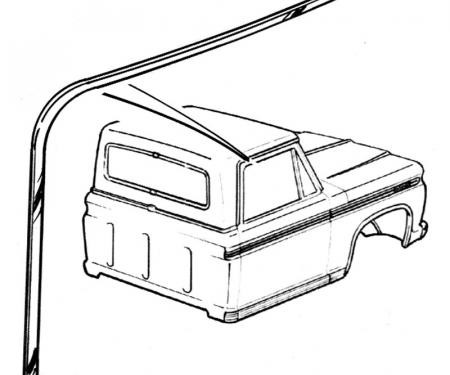
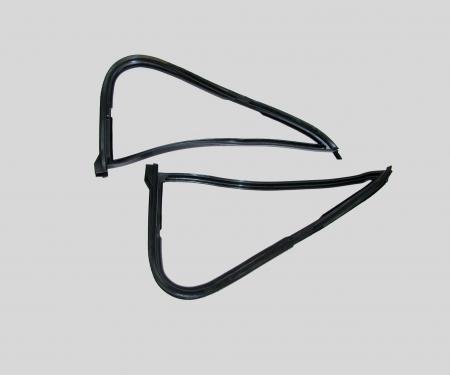
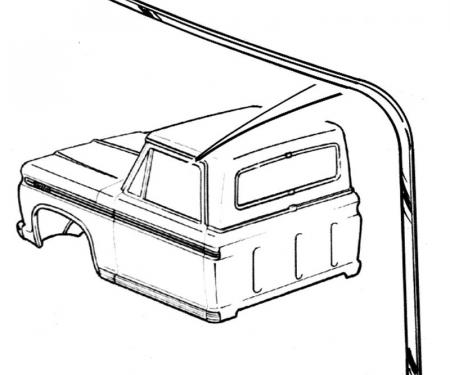
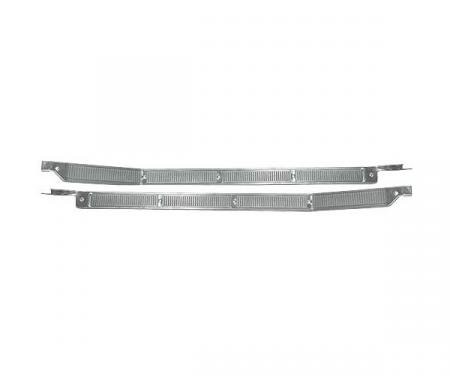
This 10-piece door weatherstrip seal kit (DK 2110 73) supplies complete left and right glassruns, beltlines and door seals to restore proper door sealing and window operation. Designed to replace worn or missing rubber channels, the kit prevents water intrusion, reduces wind noise, protects interior trim, and restores a factory-fit appearance. Durable, weather-resistant rubber construction resists shrinking and cracking for long-term reliability and is engineered for straightforward installation and dependable daily use.
Features:
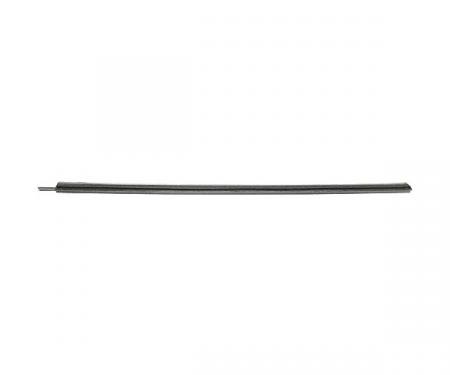
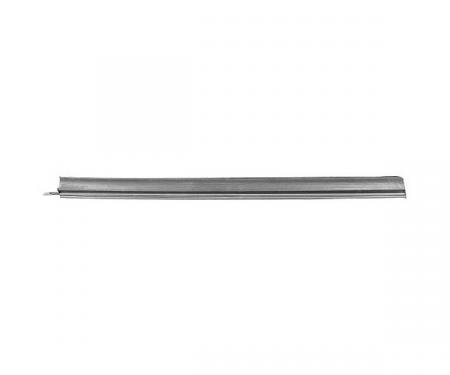
- Complete 10-piece kit includes left and right glassruns, beltline channels and door seals (DK 2110 73).
- High-quality weather-resistant rubber resists cracking, shrinking and UV degradation.
- Restores proper window alignment and smooth glass operation while preventing water and wind intrusion.
- Designed for easy retrofit or restoration of worn door seals and trim; ideal for maintenance projects.
- Direct-fit style pieces for accurate placement and consistent performance when installed correctly.
Installation / Application:
- Difficulty: 2/5
- Estimated time: 60-90 minutes
Instructions:
- Prepare the work area and lower the window to a position that allows access to the glassrun channels. Remove the interior door panel if necessary to access mounting areas.
- Carefully pull out the old glassruns, beltline channels and door seals. Use trim tools and pliers to avoid damaging the door skin. Dispose of old adhesive and rubber.
- Clean all mating surfaces and channels thoroughly with a rag and solvent to remove dirt, grease, and remaining adhesive. Allow surfaces to dry.
- Test-fit each new piece to confirm left/right orientation and proper alignment before applying adhesive. Identify top/bottom and front/rear ends.
- If weatherstrip adhesive is recommended, apply a thin, even bead to the channel or the rubber flange per the adhesive instructions. Align the part and press it firmly into place along the entire length.
- Seat glassruns and beltline channels fully into their channels, ensuring the window moves freely in the run without binding. Trim any excess material with scissors or a utility knife if needed.
- Reinstall the door panel and any trim removed. Operate the window several times to confirm smooth operation and complete sealing.
- If adhesive was used, allow recommended cure time (typically up to 24 hours) before exposing the door to heavy use or moisture.
About Precision Replacement Parts
Since 1986 Precision Replacement Parts has been a trusted name in the Automotive Glass Industry.
Our knowledge and experience in manufacturing millions of extruded and molded EPDM Rubber, PVC and HDPE based plastics, and various stamped and extruded metal products for the classic and late model industries has allowed Precision to expand our services into multiple product markets.
Along with our own USA based production facility, Precision also partners with 25 different manufactures worldwide with a reputation as a global leader supplying OEM and replacement products to a number of different industries. Our partnerships along with our own in-house manufacturing and fabrication capability gives Precision a unique position in helping to meet the expanding needs of customers everywhere, providing them with a sustained competitive advantage.

Vehicle Fitment:
The Vehicle Fitment Guide is to be used as a general reference. The data has been provided by our suppliers and manufacturers and may contain errors or incorrect data. Always refer to a professional to verify correct fitment for your vehicle.
| Make |
Model |
Submodel |
Years |
| Ford |
Bronco |
|
1978 - 1979 |
| Ford |
F-100 |
|
1973 - 1979 |
| Ford |
F-150 |
|
1975 - 1979 |
| Ford |
F-250 |
|
1973 - 1979 |
| Ford |
F-350 |
|
1973 - 1979 |
| Ford |
F-500 |
Custom |
1975 - 1977 |